Honestly, is there anything more satisfying than pulling from a perfect center-pull yarn ball? Well, ok, there probably is, but this is definitely one of my favorite simple pleasures. Crochet for me is mostly about the chill satisfying vibes and the enjoyment of seeing something created from nothing, stitch by stitch and row by row. Finishing projects isn’t really my specialty anyway, yknow? So I’m all about enjoying the journey.
Even though I own an automatic yarn winder, one of the things I really enjoy is hand-winding my yarn balls. It’s one of those simple, satisfying tasks that I can just zone out to. And I need to do it pretty often, because I have a lot of tangled clumps of yarn.
See, I used to have a bad yarn-buying habit. I think most crafters can relate1and if you don’t, TELL US YOUR SECRETS, HOW DO YOU DO IT??. There’s so many gorgeous yarns out there, and whenever I find myself in a craft store, it is so hard not to just walk out with a huge bag full of yarn. Even though I have zero concrete plans for what I’d do with it, I just want it because it’s beautiful and gets me all dreamy about all the things I could make.
But it’s a bad habit for a lot of reasons. What you end up with is a bunch of random yarn, but never the right yarn for the project you want to do. So whenever you start making something, you inevitably have to go get new yarn anyway, and all the stuff you bought “just because” continues to sit there in your disorganized mountain of yarn forever and never gets used.
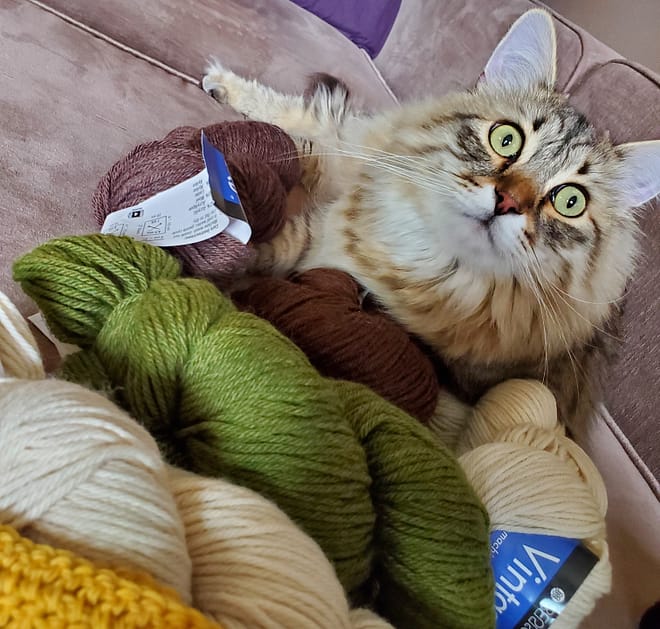
Recently I made it a goal to change this. I’m working on being more sustainable and reducing my consumption, and craft supplies were a big part of what I was buying. I just kept acquiring more and more and more, and honestly part of me doesn’t want to stop, cause my stash makes me really happy and I do like having a good amount yarn on hand for spontaneous projects.
So I made a compromise – I can acquire as much new yarn as I want, as long as it’s secondhand or salvaged. Sometimes I do let myself buy a little bit of new yarn if I really need something specific to finish a project, but I’ve been trying to use what I have as much as possible. It turns out to be a pretty fun creative challenge actually, being constrained by only being able to use what you already have.
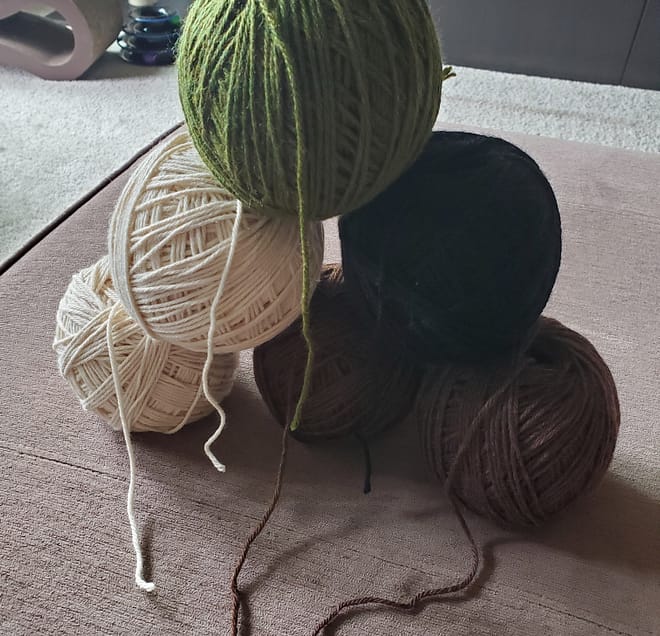
Ok, back to yarn-winding. I swear, I’m getting to the point eventually. So, what happened when I started getting a lot of yarn secondhand is that most of it comes a knotted, unusable clump. As a result, I like to think I’ve gotten pretty good at untangling and rewinding it into nice, tidy little yarn balls.

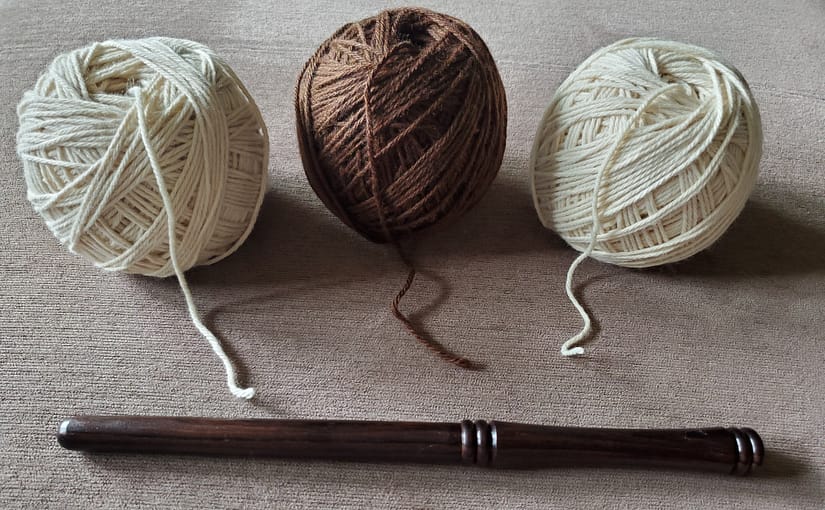
A while back I’d bought a Nostepinne, which is this old-school traditional yarn winding device that’s basically just a smooth, tapered wooden stick. It’s kinda funny actually, a lot of internet reviews you’ll find are from people who bought them to use as a wand for their kid’s wizard halloween costume.
It’s the perfect tool for hand-winding though. I keep it in my crochet bag so if I’m working on a project and my yarn ball starts to collapse and fall apart, I can just quickly re-wind it back into shape. It also takes up wayyyy less space than one of those automatic yarn winders, and doesn’t take any setup, which is a huge benefit if you’re living in a small apartment and don’t have the luxury of a dedicated crafting space.
In a pinch, you also can use any other roughly stick-shaped object to hand-wind your yarn – I’ve done it on a spare crochet hook, on a sharpie marker, and even on my own finger – but I have to say it’s definitely best to use an actual Nostepinne if you have one. I will admit I’m not 100% sure if my method for using it is the “correct” way, but it works for me every time, so here we go!
tutorial: how to wind yarn using a nostepinne

1. prepare materials
In this tutorial, I’ll be working from some yarn that came in a hank (the figure-8 kind of yarn ball). A lot of yarn is sold in hanks, but they’re hard to work from directly and will inevitably end up in a tangled wad if you don’t re-wind them, so it’s a good time to try out your nostepinne.

To get started from a hank, carefully untwist it and lay it flat in a circle shape like shown in the picture. Note: it is extremely important to maintain the integrity of the circle while you work (harder than it sounds!). It helps to have a clear space in front of you where you can lay out the yarn so it doesn’t get messed up.
If you’re starting from completely unwound yarn, just do your best to untangle it and lay it out in a loose circle similar to the hank. You might need to stop and deal with some knots along the way, but it won’t really change the process.
2. attach yarn

Near the handle part of the nostepinne, you’ll see a couple of grooves. These are for holding your loose yarn end which will eventually become the center strand that you’ll pull from. Wrap the end around one of the grooves, leaving a short tail that you can grasp onto, and tie a loose knot.
3. lay down the base
We’ll start by wrapping a couple base layers of yarn. This forms the center of your yarn ball and helps the outer layers to have something to grip onto.

Take the nostepinne in your non-dominant hand (left hand for right-handers; right hand for left-handers) and use your other hand to wrap a single layer of yarn, moving from the base of the stick towards the end. The base layer doesn’t need to go the full length of the nostepinne, but give yourself a few inches to work with.
Now, reverse direction (moving from the end of the stick towards your hand) and lay down another flat layer on top of the first one. Repeat a couple more times to add structure to your base so it all holds together.


4. wind, wind, wind
Ok, that’s all the setup! From now on it’s just winding until you run out of yarn. Once you get into the rhythm of it, it’s really simple. Here’s the process.

Starting roughly in the center of your base, begin wrapping your yarn at an upward angle. While you wrap, gradually turn the wand towards you, to keep moving your yarn so that it lays flat next to the last loop.
That may be a bit hard to understand just from text, so here’s some diagrams to help:

At first it’s gonna look pretty messy, but keep at it for a bit and you’ll start to see it take shape into a square-ish ball with rounded corners. Eventually your yarn ball will grow to the point where you can’t see the base layer anymore.


5. finishing off
Once you run out of yarn, you should end up with something like this:

To finish it off, tuck the loose end into the outer layer, untie your starting yarn, and slide the whole ball off the stick.

and there you have it! Ain’t that a thing of beauty.
It might take a few tries to get the hang of it, but once you do, it’s pretty relaxing. I can whip up one of these balls in under 10 minutes if my yarn is cooperating and doesn’t decide to tangle up.
I hope this was a useful guide for y’all, and I’d love to hear from you in the comments if you know of any other useful tricks or have questions about the tutorial 🙂 thanks for reading!
footnotes
- 1and if you don’t, TELL US YOUR SECRETS, HOW DO YOU DO IT??